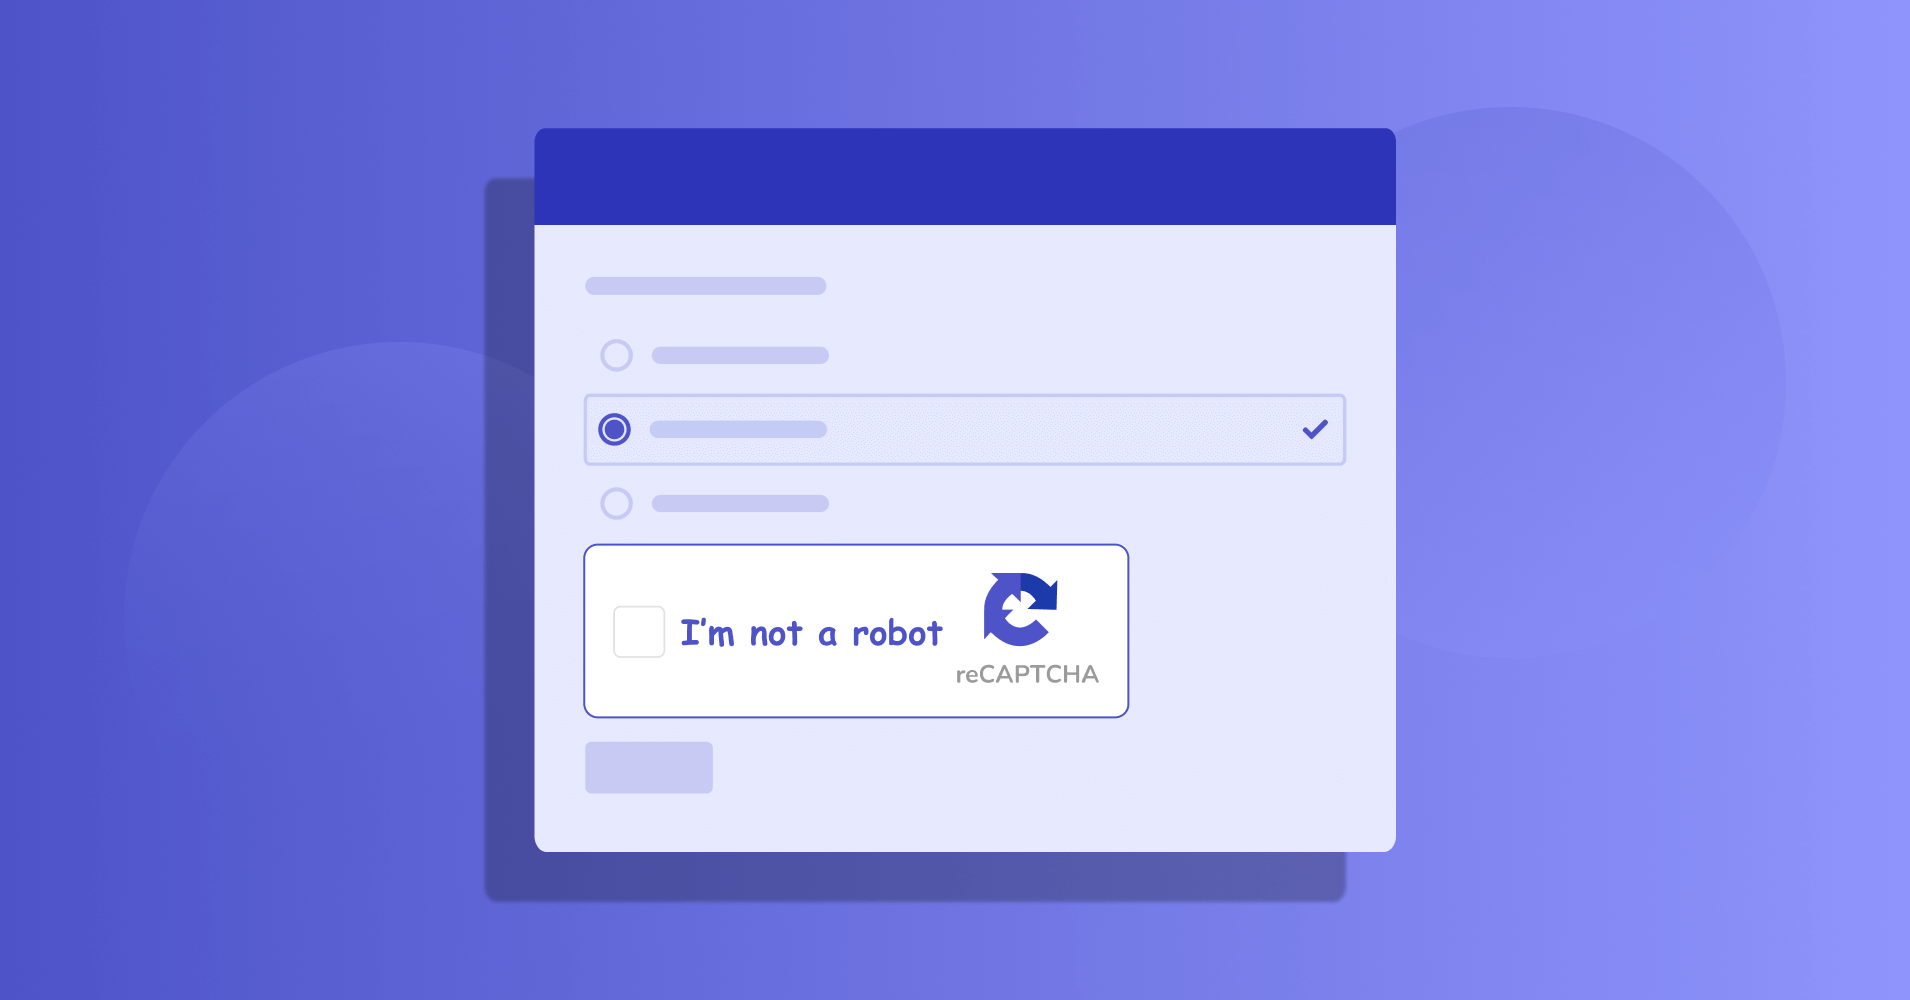
Creating a Google reCAPTCHA for your website involves a few steps. reCAPTCHA is a service provided by Google to protect websites from spam and abuse by verifying that the user is not a robot, reCAPTCHA v3 “Invisible” CAPTCHA
Sign Up for reCAPTCHA:
Go to the reCAPTCHA website and sign in with your Google account. If you don’t have one, you’ll need to create one.
Register Your Website:
After logging in, click the “+ (plus)” icon at the top right to add a new site, then Fill in the required information about your website.
Choose reCAPTCHA Type:
Google reCAPTCHA offers two types:
- reCAPTCHA v2 “I’m not a robot” Checkbox: This is the traditional CAPTCHA with a checkbox.
- reCAPTCHA v3 “Invisible” CAPTCHA: This is a more user-friendly version that runs in the background and only requires interaction if Google suspects suspicious activity.
Choose the type that suits your needs. The setup process is similar for both.
Domain Verification:
You’ll need to verify your website’s domain to use reCAPTCHA. Follow the instructions provided on the reCAPTCHA admin console for domain verification.
Get API Keys:
Once your domain is verified, you’ll receive API keys for your reCAPTCHA. There are two keys:
- Site Key: This key is used on the frontend (your website) to display the reCAPTCHA widget.
- Secret Key: This key is used on the backend (your server) to verify the user’s response.
Implement reCAPTCHA on Your Website:
To implement reCAPTCHA on your website, you’ll need to add the reCAPTCHA widget to your forms or pages where you want to protect against spam.
- For “reCAPTCHA v2 Checkbox,” you can include the following HTML in your form:html
<div class="g-recaptcha" data-sitekey="YOUR_SITE_KEY"></div>
- For “reCAPTCHA v2 Invisible,” you can include the following JavaScript in your HTML:html
<script src="https://www.google.com/recaptcha/api.js" async defer></script>
 <div class="g-recaptcha" data-sitekey="YOUR_SITE_KEY" data-size="invisible"></div>
- For “reCAPTCHA v2 Checkbox,” you can include the following HTML in your form:
Verify reCAPTCHA Response on the Server:
After a user submits a form with reCAPTCHA, you need to verify the reCAPTCHA response on your server using the secret key. therefore this step ensures that the response came from a genuine user and not a bot. Google provides API documentation for this purpose.
Customize reCAPTCHA:
You can customize the appearance and behavior of reCAPTCHA by configuring the settings in the reCAPTCHA admin console.
Test reCAPTCHA:
Before deploying reCAPTCHA on your live website, make sure to test it thoroughly to ensure it’s working as expected.
Locus Academy has more than a decade experience in delivering the training, staffing on Google reCAPTCHA for corporates across the globe. The participants for the training, staffing on Google reCAPTCHA are extremely satisfied and are able to implement the learnings in their on going projects.
[/vc_column_text][/vc_column][/vc_row]


